Basic brushing guide: Fixed appliance

Fixed appliance:cleaning supports, teeth and gums.

Once the brackets and orthodontic wire have been installed in your dental arch, your teeth have been separated into two parts, the upper and lower parts, and your teeth and your fixed orthodontic appliance will need special brushing care.

Aparelho fixo metálico convencional

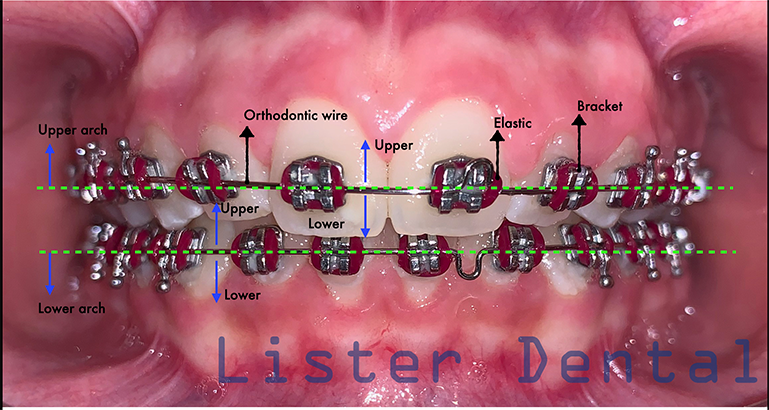
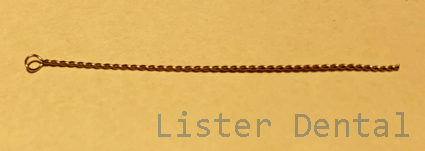
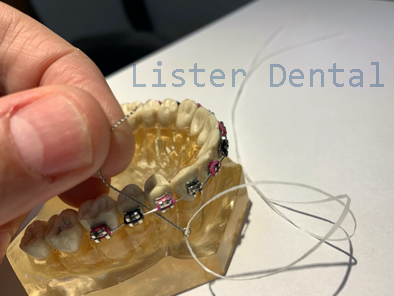
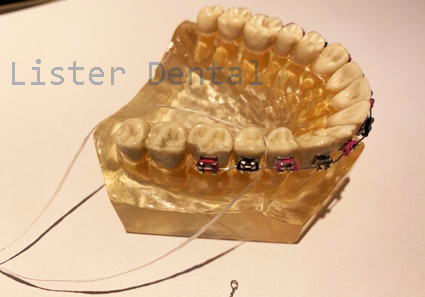
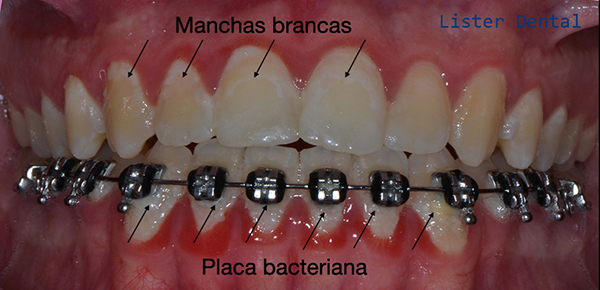
Figure 1: Intrabucal photo with the technical names used for the explanation.


Here are 8 important STEPS for your daily care:

ATTENTION: Remove rubber bands and removable appliances.


STEP 1 - Number of daily brushings

Let's go?

How many times a day do you brush your teeth?

Your brushings from today, after the installation of the fixed appliance, will be 4 times a day, as following:

1. upon waking up (before breakfast),

2. after breakfast,

3. after lunch and

4. the last one after dinner.


Escova dental

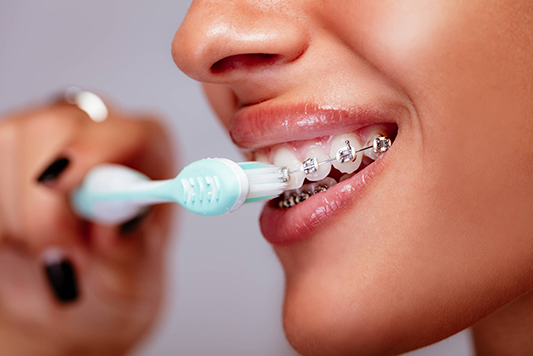
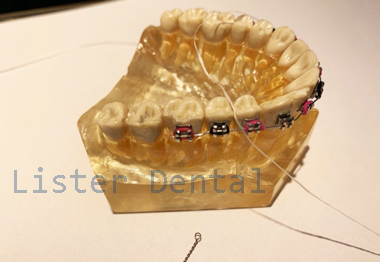
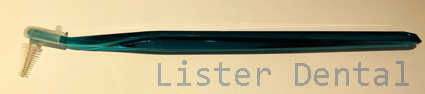
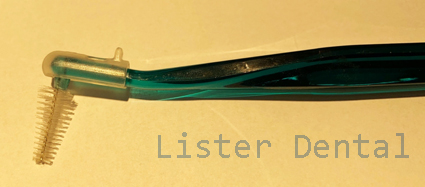
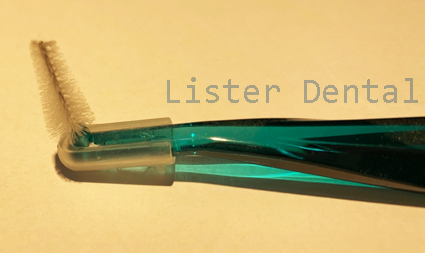
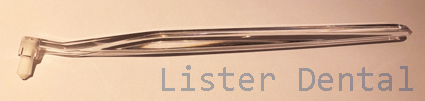
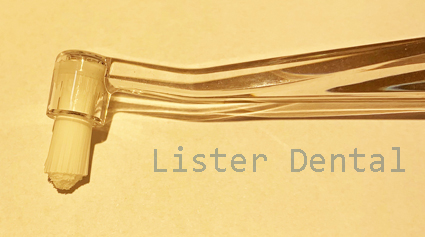
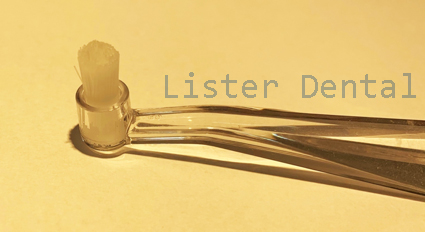
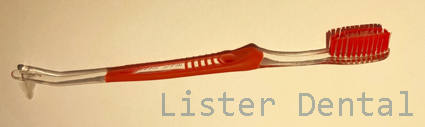
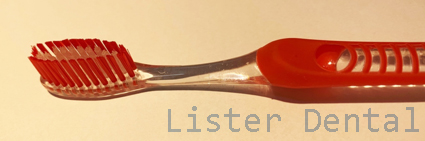
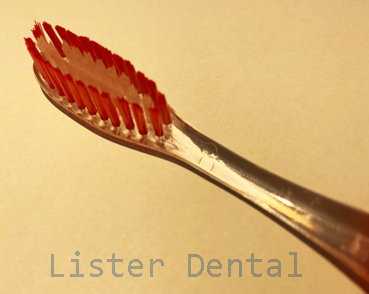
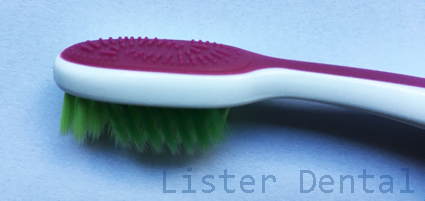
Figure 2: Brushing fixed appliance.


STEP 2 - How to use dental floss

How often do you floss?

Flossing is very important so you should use it twice a day.

You can choose to use, before or after brushing, and always after lunch and after dinner.

I will explain how you should floss, even under to the orthodontic wire and between the brackets.

Remember that from now on, the orthodontic appliance will prevent you from using dental floss in the same way that you had been using it.

Until now, you cut a piece of dental floss, wrapped it around your middle finger, and with the help of your thumbs and index fingers you were able to get an aid to pass the dental floss between your teeth.

But now with the fixed appliance there is no such possibility.

I am going to present you the 'floss threader' that can be metallic or plastic, it resembles a sewing needle.

It will be very useful for you to guide the dental floss under the orthodontic wire and between the brackets.

Metallic floss threader

Figure 3: Metalic floss threader.


Plastic floss threader

Figure 4: Plastic floss threader.


Metallic floss threader and dental floss

Figure 5: Metallic floss threader and dental floss.


Metallic floss threader and dental floss

Figure 6: Metallic floss threader through interbracket area.


Metallic floss threader and dental floss

Figure 7: Dental floss sliding through interbracket area.


Metallic floss threader and dental floss

Figure 8: Removing dental floss from metallic floss threader remaining just the dental floss.


Metallic floss threader and dental floss

Figure 9: Preparation of the dental floss for cleaning the interbracket area.


Dental floss

Figure 10: Positioning of the dental floss to start cleaning the interbracket area.


Dental floss

Figure 11: “C” shaped dental floss for cleaning the interdental and interbrackets area.

.


Attention:

Remember to take care and avoid wetting the tip of the dental floss, as this makes it easier for you to put the dental floss in the 'floss threader' and again move on to the next tooth.

Now with the dental floss in the region between the teeth you will carefully descend below the gum and pull the dental floss with a “C” shape, forward and backward, very carefully, always under the gum, without hurting, this way you will clean each interdental space, passing through all teeth.


STEP 3 - Using the interdental brush

And it's not over yet!

After flossing, you will have the aid of the interdental brush in all your brushings.

This brush will be part of your orthodontic kit and will be responsible for cleaning around the brackets and between your teeth, where the brush and dental floss cannot reach. This interdental brush is very important, because with it you will prevent your teeth from getting stained.

Look at what important information I am going to give you now: this white residue (it looks like a plasticine) that forms around the brackets is called dental plaque or biofilm, this can happen with some frequency when we do not carefully remove the food debris that gets stuck in the teeth and brackets.

This plaque that was formed, if not removed, will remain on the tooth and the bracket outline and may cause a whitish stain that will be very visible when we are going to remove the fixed appliance.

Passa fio metálico

Figure 11: Interdental brush.


Passa fio plástico

Figure 12: Approaching the interdental brush head.

Passa fio plástico

Figure 13: Close-up of the bristles of the interdental brush head.


STEP 4 - Using the bitufo brush

To complement your oral hygiene we also have the bitufo brush, which can help you by assisting you as similar to as the interdental brush.

Bitufo brush

Figure 14: Bitufo brush.


Bitufo brush

Figure 15: Approaching the bitufo brush head.


Bitufo brush

Figure 16: Close-up of the bristles of the bitufo brush head.


STEP 5 - Using the orthodontic toothbrush

After the previous steps you start using the orthodontic toothbrush for brushing.

Attention: if your toothbrush is within the validity period of 3 months you can continue using the same toothbrush you have been using and when you change the toothbrush then you should choose for an orthodontic one.

The orthodontic toothbrush has this name because its bristles in the central region are smaller than those at the ends forming a "V" shape that fit better in the brackets, facilitating their cleaning.

Orthodontic toothbrush

Figure 17: Orthodontic toothbrush connected with interdental brush.


Orthodontic toothbrush

Figure 18: Approaching the orthodontic toothbrush head.


Orthodontic toothbrush

Figure 20: Close-up of the bristles of the orthodontic toothbrush brush head.


Regarding toothpaste, you will be able to choose the brand of your preference and we suggest placing only a small amount, approximately the size of a pea grain, because this amount is enough for brushing.


Orthodontic toothbrush

Figure 20: Toothpaste quantity suggested for daily use.


The toothpaste helps to clean the teeth, removes stains and debris making difficult the plaque development, as well as providing better breath. Remind that it is the toothbrush that really does the cleaning.


Now that your toothbrush is already filled with toothpaste, you should start brushing as follows: if your brush is a larger size you will brush every 3 teeth and if it is a smaller toothbrush every 2 teeth, for a period of 15 seconds, under the brackets, between the brackets and on top of the brackets, and do it for all over the mouth, not forgetting to always brush the occlusal region (on top of the teeth) and the lingual region (internal part of the teeth). In the lower inner region, you must modify the position of the brush by tilting it behind the teeth.


White spot: The demineralization of tooth enamel during orthodontic treatment is a constant concern of orthodontists and dentists. Remind that the orthodontic appliance provide the accumulation of dental plaque or biofilm, especially around the brackets.

White spot

Figure 21: White spots and dental plaque or biofilm around the brackets.


Therefore, presenting the brushing technique, as well as guiding all the brushing supplies that we can use, is necessary for the total control of oral hygiene.

The patient must be aware of his contribution throughout the orthodontic treatment, knowing that it is part of his collaboration to follow the guidance of his orthodontist.


STEP 6 - Cleaning the tongue

The tongue also needs to be cleaned, as it is a region that has a large accumulation of bacteria. If you feel nauseous, this cleaning can be done right after wake up with the tongue scraper, or with some specific toothbrushes which have in their back a rough surface for cleaning the tongue.

Tongue scraper

Figure 22: Tongue scraper type 1.


Tongue scraper

Figure 23: Tongue scraper type 2.


Tongue scraper

Figure 24: Tongue scraper type 3.


Tongue scraper

Figure 25: Close-up tongue scraper type 3 associated to a toothbrush.


ESTEP 7 - The use of mouthwash

You can also use a mouthwash of your choice to finish the whole process.

Remind the mouthwash must be supporting (auxiliary) in the process of oral hygiene and does NOT replace brushing.

Mouthwash

Figure 26: Mouthwash.


STEP 8 - The protection of the fixed appliance with orthodontic wax

Finally, we have the orthodontic wax that is malleable and will help you if you experience any discomfort with the fixed appliance, such as if any end of the bracket or orthodontic wire will hurt you. If there is a trauma to the lips or cheeks, you should take a piece of the wax and make a little ball and place it on top of the affected region, for example in the bracket, and press it to stick in place.

Orthodontic wax

Figure 27: Orthodontic wax.


Do not forget that when brushing or eating, remove the wax and throw it away, in case you forget and accidentally swallow the wax there is no problem, as it is organic and composed of beeswax and will not do any harm to the stomach and will be eliminated naturally.


Source:
Oral B ®, Colgate®, Bitufo® - Brazil